 Nature offers many
wonderful materials to use as art supplies. When cooked and boiled,
walnut husks make the most deep golden brown ink or dye. They, like
the Oak galls, have tannins for a permanent stain. Native Americans
and pioneers used them to colour leather, wood, and baskets.
Nature offers many
wonderful materials to use as art supplies. When cooked and boiled,
walnut husks make the most deep golden brown ink or dye. They, like
the Oak galls, have tannins for a permanent stain. Native Americans
and pioneers used them to colour leather, wood, and baskets. The ink is great for calligraphy or painting and is useful in ‘antiquing’ just about anything. The instructions I found said to remove the nuts from the husks, but when I experimented, I was too lazy to do this and the result was still a success. The first year, I left them in an old enamel bowl in a dark corner of the barn for a year. Later, the old fruits had become a dark, ugly congealed mass.

 Walnuts, both green and
black, work great especially if they are going to sit in a dark place
for a year. But they can be cooked up right away and still work well.
I did learn the first year to cover them to keep out critters. I
kept waking to find them scattered all over my deck.
Walnuts, both green and
black, work great especially if they are going to sit in a dark place
for a year. But they can be cooked up right away and still work well.
I did learn the first year to cover them to keep out critters. I
kept waking to find them scattered all over my deck.
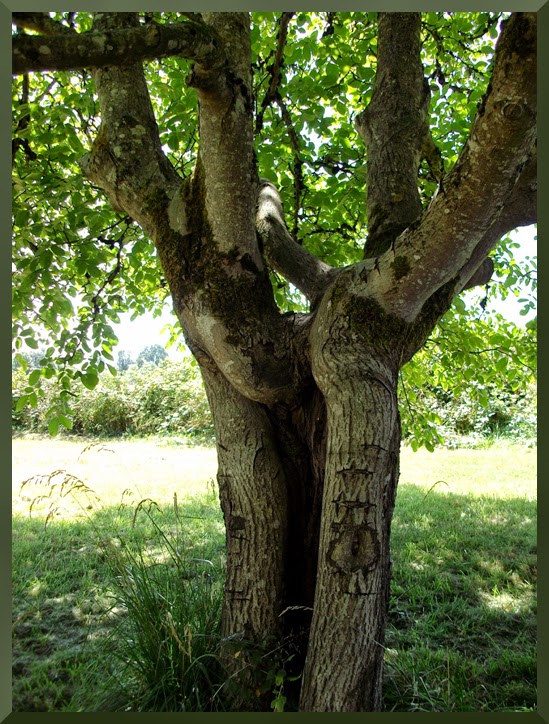
Rusty iron is a valuable
addition to the process, just as with oak galls. I keep an old gear
and nail handy for this purpose. When on walkabout, I keep my eyes open for
pieces of rusty metal.
In a large canning cooker
went the rusty bits and the old gunky walnuts. I then added about 3
gallons of water. Some people say to use distilled water but I think
that is silly since the well water here has iron and rust in it just
like the metal I add... so well water works fine.


I brought it to a boil and
then simmered for a few days, turning it off when unattended. After
about a week I poured the mess through a colander and kept simmering
it on and off for another week. It didn't have to take so long but I
was working and felt lazy when home. I simmered it from time to time
to make sure it didn't start molding.

The second straining
needed to be through a fabric. Since I have a bag full of clothing
and things to dye, I grabbed a large white cotton shirt left over
from my costuming days. I figured it could be useful and get colored
at the same time. I tied it over a smaller pot (didn't need to...
turns out clothes pins or other clips work better). I moved the shirt
around a few times while pouring the liquid to get the effect I
wanted.
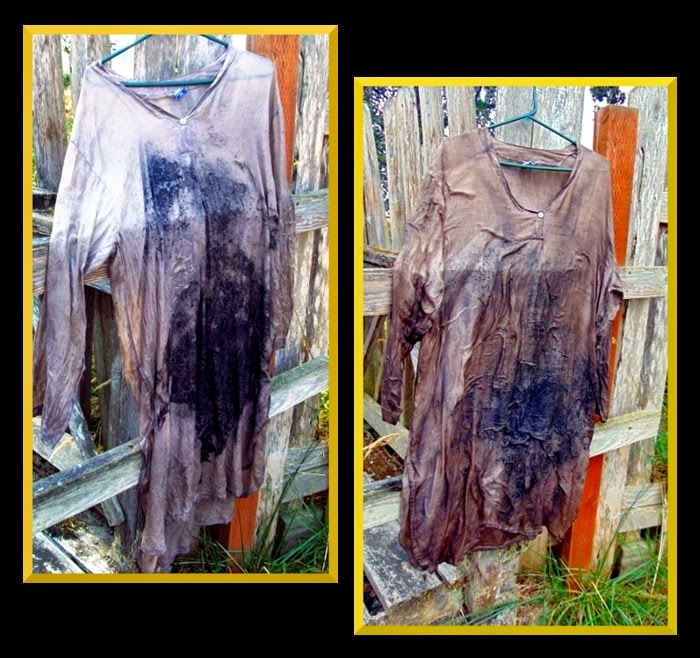
I hung the shirt to air
dry and then poured the juice through again, focusing on the back
side of the shirt. This time I let the whole garment go into the dye
for a few seconds and then wrung it out. There is quite a change...
the second dipping shows a much warmer brown. It also has a lot of
texture and patterns, which is what I am after. I may do it a third
time before I heat set and rinse to see what I get.

After this, I strained the liquid through coffee filters (in the past, used muslin scraps) a few times (more labor intensive, but the liquid has to be free of organic material) I save the filters and fabric for other projects. I added alcohol to act as a preservative. The batches I made the last 2 years I used 151 rum and they haven't molded. Also, rum sounds more natural and friendlier. I then added a little liquid scent to make it smell nice.

Very soon, I will post
swatch samples of the pigments and dyes I have made so far. And watch
for future blogs showing results of my different projects (including
the finished shirt that doubled as a strainer).
Comments
Post a Comment